Building a Retrieval-Augmented Generation (RAG) Agent with Azure AI Foundry and Azure AI Search
One of the biggest challenges when building AI applications is enabling them to answer questions using your own business data rather than relying solely on information learned during training.
Retrieval-Augmented Generation (RAG) solves this problem by combining the reasoning capabilities of large language models with the ability to search and retrieve information from trusted data sources.
In this tutorial, we'll build a complete RAG solution using Azure AI Foundry and Azure AI Search. We'll create a searchable knowledge base, configure an AI agent, and connect the two together so users can ask natural language questions and receive responses grounded in their indexed documents.
The following architecture illustrates the solution we will build.
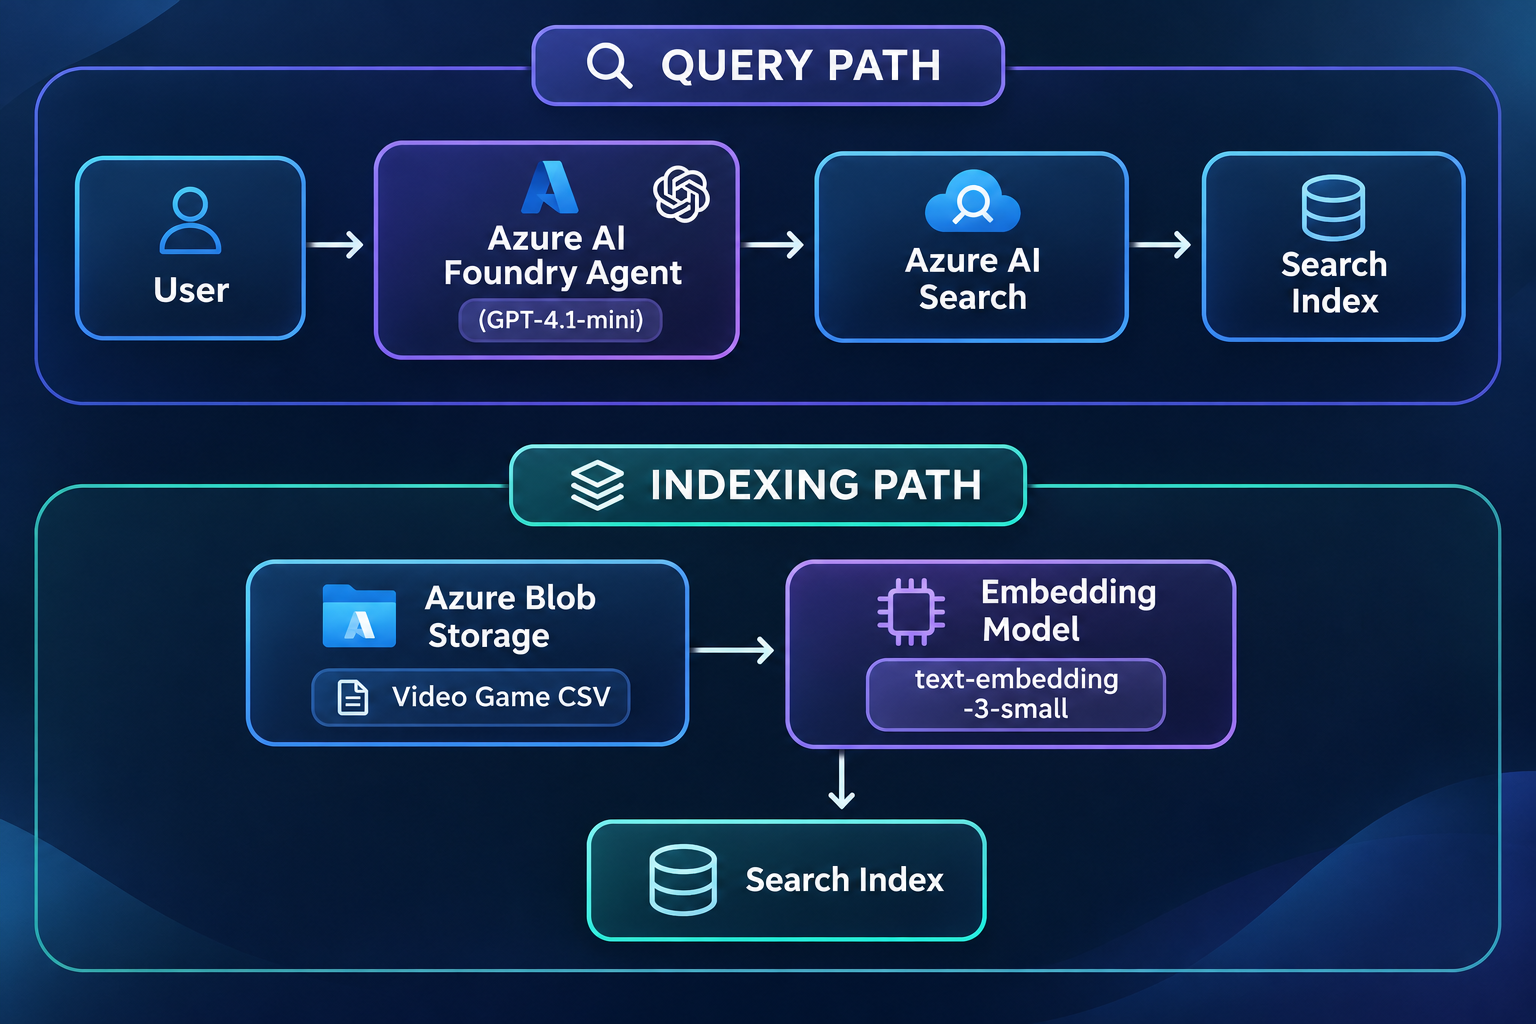
To build the RAG solution, we will complete the following stages:
- Create an Azure Resource Group
- Create an Azure Storage Account
- Upload the sample sales data to Azure Storage
- Create an Azure AI Foundry resource
- Deploy an embedding model
- Create and populate an Azure AI Search index
- Create an Azure AI Foundry Agent using GPT-4.1-mini
- Connect the agent to Azure AI Search
- Test the completed RAG solution
Prerequisites
Before starting this tutorial, ensure you have:
- An active Azure subscription
- Permission to create Azure resources within your subscription
Note: Microsoft periodically updates the Azure Portal interface. The screenshots and navigation paths shown in this guide were accurate when the article was written, but minor differences may exist in newer versions of the portal.
Step 1 - Create an Azure Resource Group
This step creates a resource group that allows all Azure resources used throughout the tutorial to be managed together.
- Go to Azure Portal
- Search for 'Resource Group' and navigate to it.
- Click Create.
- Choose a subscription.
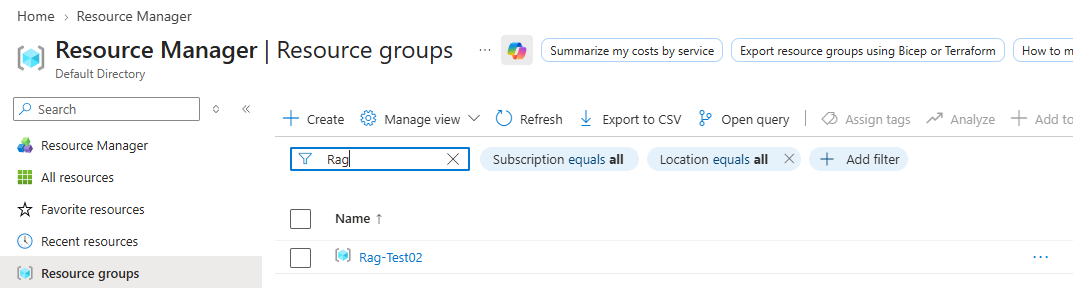
- Give the resource a name. (I used 'Rag-Test02')
- Choose a region.
- Click Create
Step 2 - Create an Azure Storage Account
Before the sales data can be indexed and queried by our AI agent, it must first be uploaded to Azure Storage.
- Search for 'Storage Account' and navigate to it.
- Click Create.
- Choose a subscription.
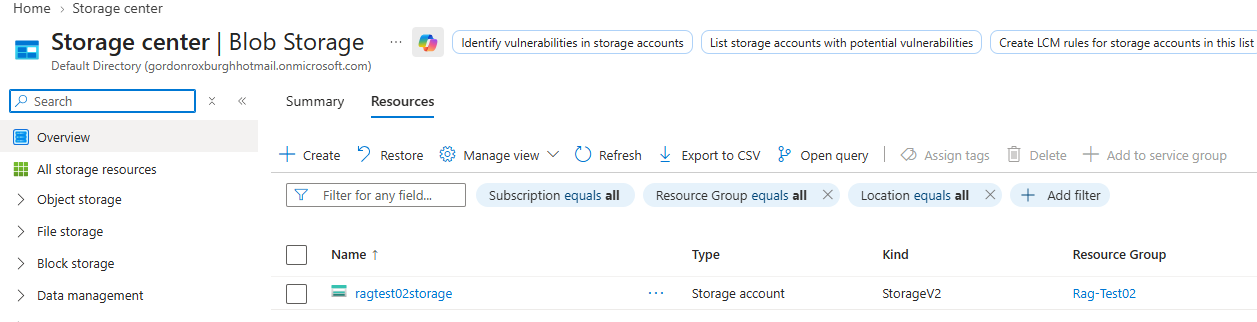
- Give the account a name (I used ragtest02storage)
- Select the resource group we created in step 1.
- Choose a region.
- Click Create
Step 3 - Upload the sample sales data to Azure Storage
Now that the storage account has been created we can create a container to store our sales data.
Note : I used Video game sales data as a .csv which I got from Find Open Datasets and Machine Learning Projects | Kaggle
- Click on the newly created Storage Account.
- Navigate on the left menu to containers.
- Click 'Add Container'.
- Give the Container a name.
- Click Create
- Click on newly created container.
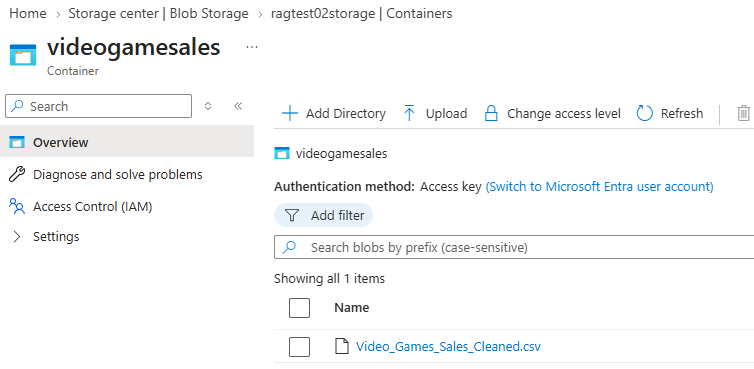
- Click Upload -> Browse to file. Click upload. (I uploaded the file Video_Games_Sales_Cleaned.csv dataset into my container I created called videoGamesales)
Step 4 - Create an Azure AI Foundry resource
- In the Azure Portal, search for 'AI Foundry Resource'
- Click 'Create a Foundry Resource'
- Select the Resource group we created in step 1.
- Give a name to our AI Foundry Resource (I used RagTestVideoGame02)
- Select a region.
- Give a project name.
- Click 'Review + create'
- Once the resource has been created click on 'Go To Resource'
- Then click on Go To Foundry Portal
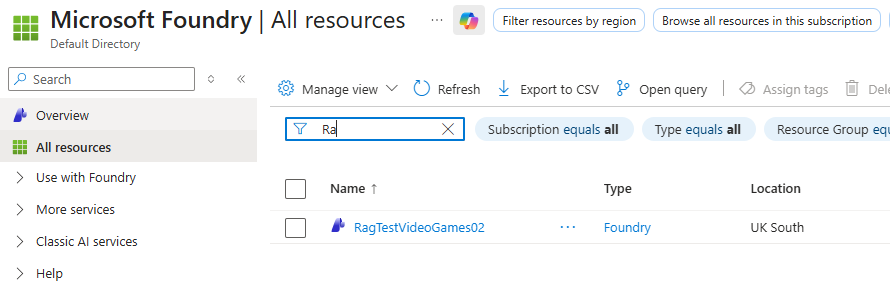
Step 5 - Deploy an Embedding Model
Large Language Models do not have direct access to external datasets. To enable semantic search, we create an embedding model that converts our source data into vectors that Azure AI Search can index and retrieve.
- Click on 'View Deployments'
- Then click 'Deploy a base model'
- Once selected Click 'Deploy'
- For this tutorial, we'll use the 'text-embedding-3-small' model. Search for it and then click on it. This will take you to a page describing the model.
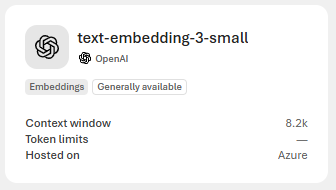
Step 6 - Create and populate an Azure AI Search index
Azure AI Search acts as the retrieval layer of our RAG solution. It indexes the vectorised data and returns relevant information when the agent receives a question.
- Go to Azure Portal.
- Search for 'Azure AI Search'
- Click 'Create'
- Go to the created AI Search resource.
-
Click 'Import Data'

- Select 'Azure Blob storage'
- Select 'Rag Scenario'
- Select Storage Account and the container we created in Step 2
- Select the Foundry Project created in Step 4d.
- Then select the 'text embedding' model we created in step 5.
- Review and Create.
Step 7 - Create an Azure AI Foundry Agent using GPT-4.1-mini
This step creates an Azure AI Foundry Agent that can be queried either through the Foundry chat interface or programmatically using C#.
- Go to Azure AI Foundry Portal.
- Select the AI Foundry project created in Step 4d.
- Deploy Model
- Click on the 'View Deployments' button
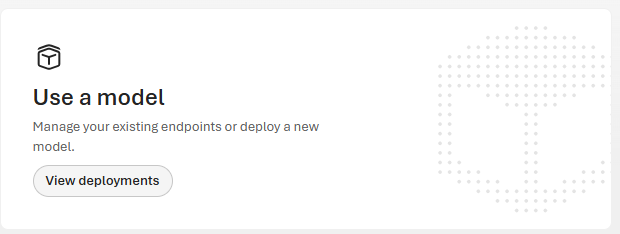
- Then click on the 'Deploy Base model' button

- Pick the AI model to use. In this instance we pick 'gpt-4.1-mini'
- Click Deploy
- Configure Model
- Add instructions to help guide the model to give responses using the uploaded sales data.
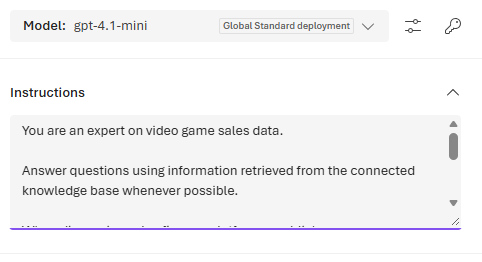
- Click 'Save as Agent'.
- Click on the 'View Deployments' button
Step 8 - Connect the agent to Azure AI Search
This step connects the agent to the Azure AI Search index created earlier, allowing it to retrieve relevant information when responding to user queries.
- Select Knowledge within the newly created Agent.
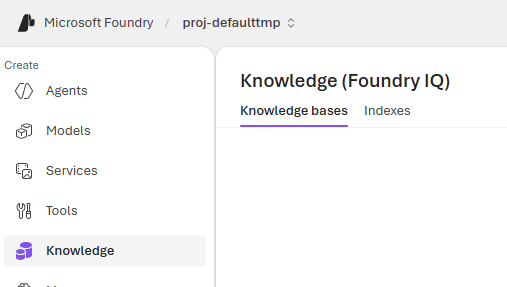
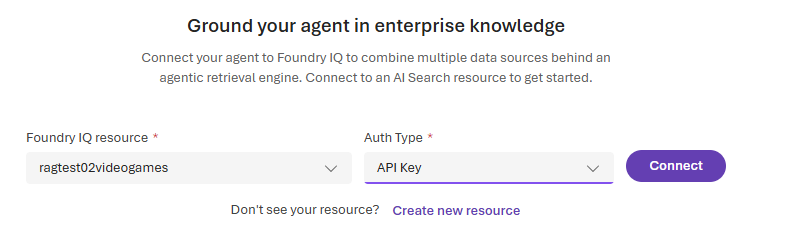
- Create a Connection
- Select the Foundry IQ Resource that we created in step 4 2b and Select API Key for authentication type.
- Create a Knowledge Base the Agent can use by click on 'Create a knowledge base'
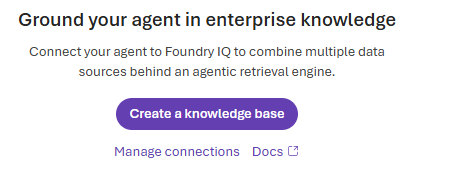
- Provide a name, select a model and output mode to 'Extractive data'
- Click 'Add Source' and select the Azure AI Search Index created in Step 6. Select 'Azure AI Search Index'
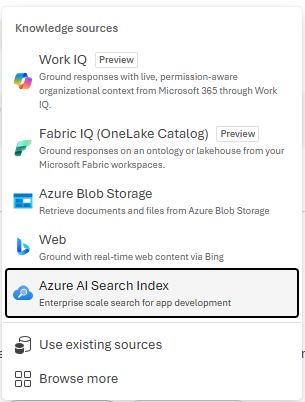
- Select the Search Index we created in step 6. Note this is the name of the search index created within our azure AI Search Service.

- Select the Foundry IQ Resource that we created in step 4 2b and Select API Key for authentication type.
Step 9 - Test the completed RAG solution
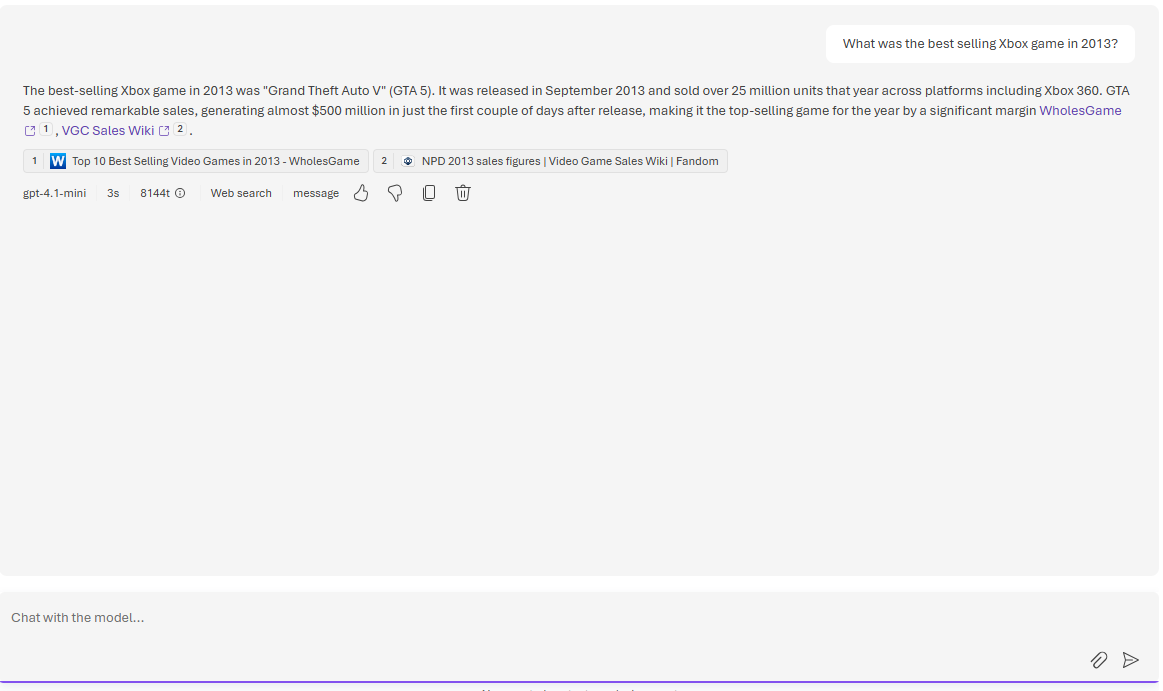
Once the knowledge base has been connected, open the agent chat window and ask a question about the uploaded sales data.
Summary
In this tutorial we built a complete Retrieval-Augmented Generation (RAG) solution using Azure AI Foundry and Azure AI Search.
We created an Azure Storage Account, uploaded source data, generated embeddings, built a searchable index, and configured an Azure AI Foundry Agent capable of retrieving and reasoning over that data.
This architecture enables AI applications to provide responses based on trusted business data rather than relying solely on the model's training knowledge. It also forms the foundation for more advanced solutions such as enterprise knowledge bases, internal support agents, and document search applications.
Further Reading
- Microsoft Learn - Azure AI Search Documentation
- Microsoft Learn - Azure AI Foundry Documentation
- Microsoft Learn - Vector Search in Azure AI Search
- Microsoft Learn - Azure AI Foundry Agents Overview